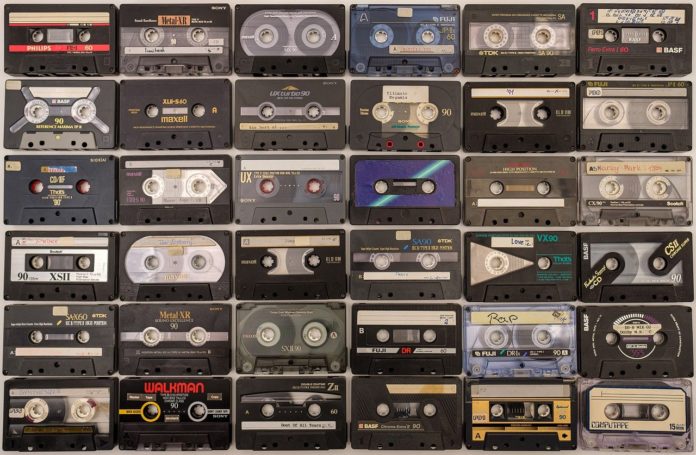
If you are of a certain age, you will remember when cassettes took over from vinyl records as the leading format of choice.
And while most music can now be found in a digital format, you could still have boxes of old cassettes that contain songs you cannot find elsewhere. Whether you have old mixtapes or bootleg tapes, it is now simple to convert them to digital. It seems complicated and requires special knowledge. But imagine that you can listen to your favorite songs on your device and play in modern $10 deposit casinos. Therefore it must be done. Here is a look at your two options.
Use a USB Cassette Converter
It seems as though everything has gone digital these days. Analog television died in favor of digital TV, some casino-goers prefer to play games such as blackjack at various online casinos, like the casumo live blackjack studio, rather than at a traditional brick-and-mortar casino, and music lovers commonly buy new music by downloading it. But if you still have music on old cassettes, it can be helpful to digitize the tracks so they are with the rest of your digital music collection.
The easiest option for converting your old cassettes to digital files is to use a USB cassette converter. You can purchase one like Reshow, which allows you to add your tracks to iTunes or you can use a converter like the Dansrueus, which converts the tracks on your cassette to raw MP3 files.
Once you have the converter, either put its software disc into your computer or download the software from the manufacturer’s website. When the software has been installed, simply put a cassette into the converter and plug it into your computer. Then follow the onscreen instructions to digitize your tracks. You can easily add the artist name and song name to each track to ensure your files are organized. Once all of the tape’s songs have been converted, they will be on your computer in a digital format for you to play whenever you want. Simple!
Set Up a Cassette Deck for Digitization
The above method is by far the simplest method. But it does mean you have no control over the audio output. Therefore, that annoying hiss that can be found on many old cassettes could remain. So, if you want to improve the quality of your cassette’s music, it is worth getting a cassette deck and spending the time going through the following steps.
Once you have purchased a cassette deck, you need to download free software like Audacity. Armed with the deck and the software, you should adjust the cassette bias. Each cassette will say either “high bias” or “normal bias.” Use your cassette deck to choose the bias that matches the specific cassette. If your deck also has the options to match the cassette type, such as metal or chrome, then also ensure you adjust the setting accordingly. Some decks have automatic settings, though.
With everything set up, connect your cassette deck to your computer. You will need to have the appropriate cable, so you may need to purchase a cable before you can proceed in digitizing the cassette’s content. For most decks, you can use a male-to-male 3.5mm cable to connect the cassette deck’s headphone output to your computer’s microphone output. But you could need an RCA to 3.5mm cable or a ¼ inch to 3.5mm cable instead. And if your computer does not have a 3.5mm microphone output, do not worry. You can plug in an audio capture card into the USB port instead and add microphone functionality.
When you have the right equipment and you have connected the cables, you can convert your cassette’s content to Audacity, or another type of audio editing software. When your tracks are loaded in Audacity, you can adjust various settings, such as the built-in volume, to make your track lose its hiss and sound more like a fully digitized track.
Additionally, if you’re someone who is like “do my homework cheap“, this is for you.


